Dithering in Bead Patterns: When to Turn It On
Dithering can soften a photo gradient with a limited palette, but it adds scattered beads. Learn when a cleaner, easier-to-count grid works better.
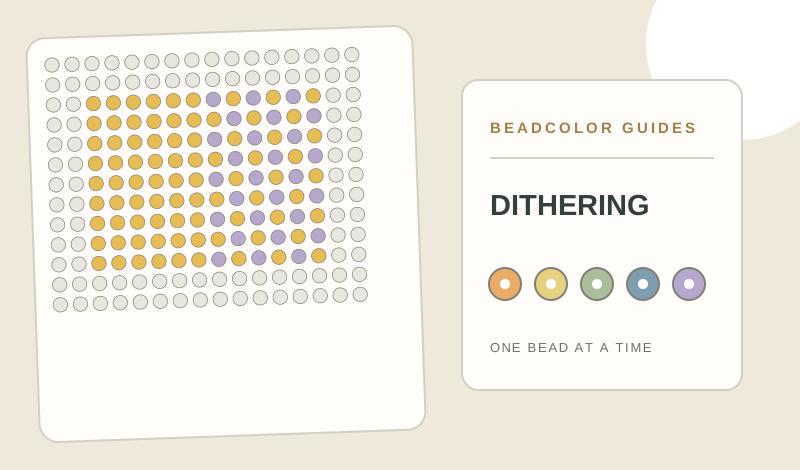
When should you turn on dithering for a fuse bead pattern?
Try dithering when a photo has broad shading that becomes harsh bands after reducing the palette. In Bead Maker, turn on Dither photo shading under Image adjustments and compare the preview with the setting off. Each added dot becomes a separate bead, so small icons, lettering and crisp outlines often work better without it. Inspect the printed grid and used-color counts, then choose the version that is clear enough to place with the beads you own.
- B17 × 218
- H12 × 33
- H06 × 18
What the dots do
Dithering places two available colors in a scattered pattern so an area can look like an in-between shade from a distance. Up close, every dot is still a separate bead. It can make a sky or broad shadow feel smoother without introducing another color code.
Try it on gradual shading
In Bead Maker, open Image adjustments and switch on Dither photo shading before previewing. It is most useful when a photo has a broad gradient and a limited palette leaves obvious bands. Compare the preview from normal viewing distance as well as at individual-bead scale.
Leave it off for crisp small projects
Small icons, lettering, faces and strong outlines can become noisy when dots interrupt solid color clusters. A sparse dot may also be harder to track while placing beads. For these subjects, crop tighter, adjust the color limit or paint deliberate transitions instead.
Choose the version you can make
Dithering does not fix a poor crop or an incompatible palette. Preview with the setting on and off, inspect the bead counts and keep the version that reads clearly and uses colors you own. If the final grid will be printed, check that small scattered codes remain easy to distinguish.
Make a pattern from your own image
Open Bead MakerExplore the Perler bead pattern maker, choose an editable fuse bead pattern, or try the example pattern shown in this guide. Compare codes in the MARD 221 color chart.